Everything you need to start DTF printing (Complete equipment list)
If you’re thinking about starting with DTF printing, one of the first questions you will ask is:
What equipment do I actually need to start DTF printing?
Unlike some printing methods, DTF printing is not just a single machine. It is a complete system made up of several tools and supplies working together.
The good news is that once you understand the workflow, the setup becomes much easier to manage.
In this guide, I will walk through the essential equipment every beginner needs to start DTF printing, and explain what each piece of equipment does in the process.
The basic dTF printing workflow:
Before looking at the equipment, it helps to understand how DTF printing works.
The process usually follows these steps:
Create or import a design
Print the design onto PET transfer film
Apply adhesive powder to the wet ink
Cure the powder using heat
Transfer the design onto fabric using a heat press
Each step requires a specific piece of equipment.
Let’s break them down.
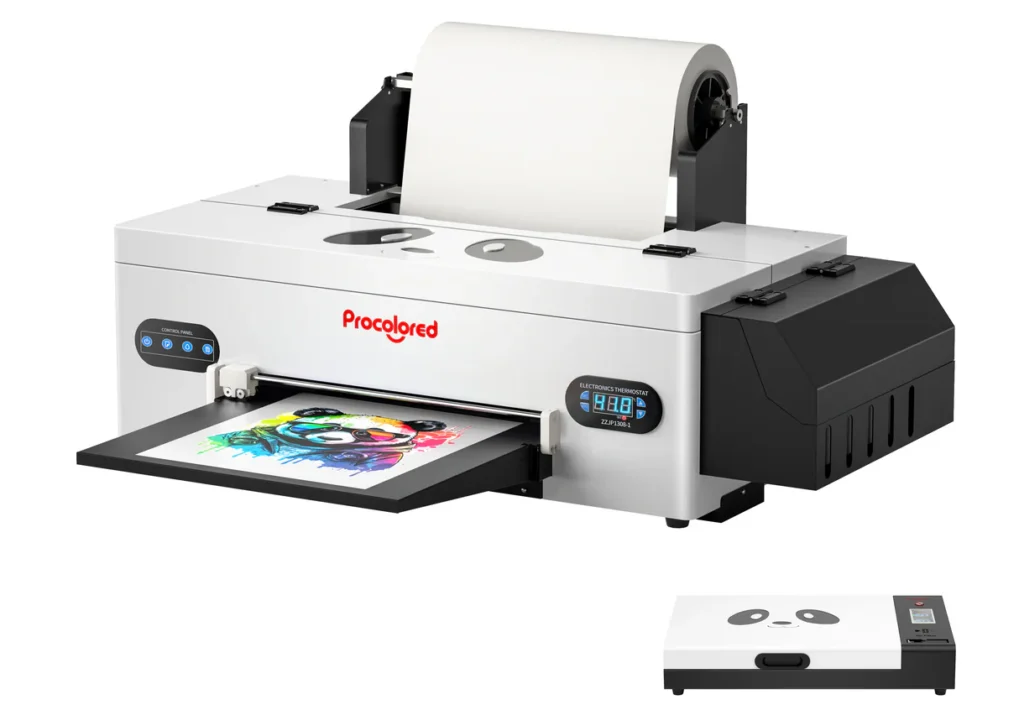
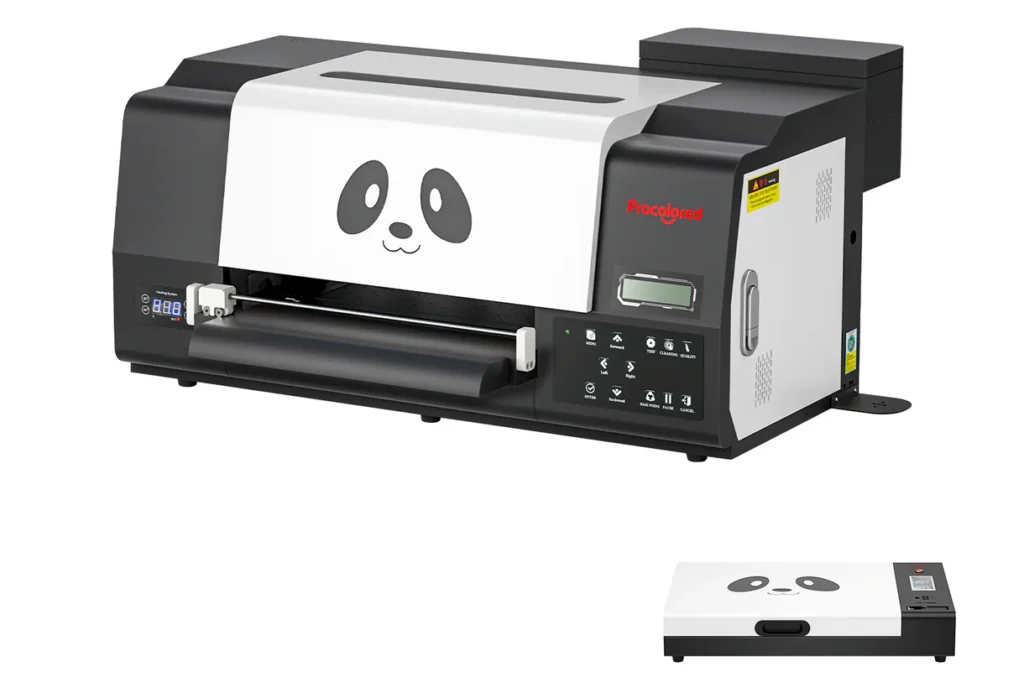
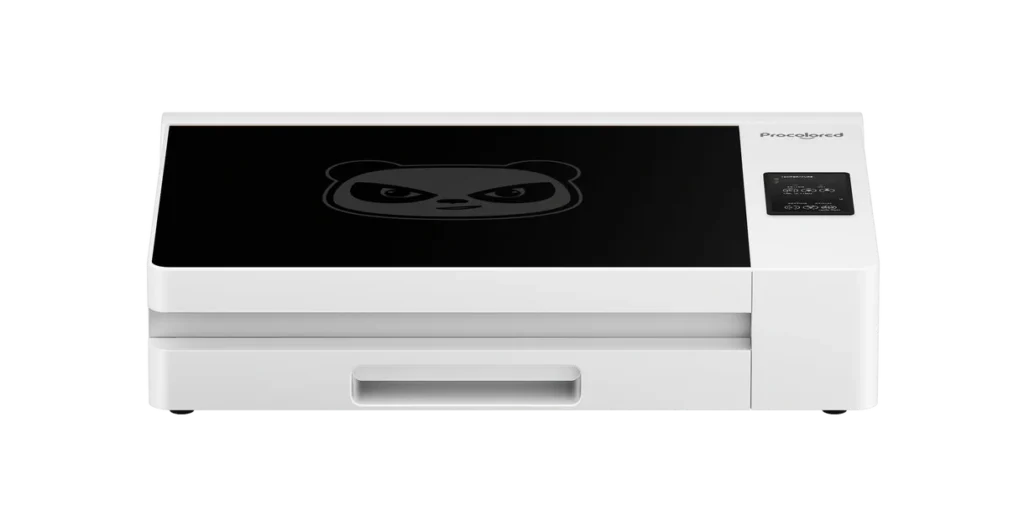
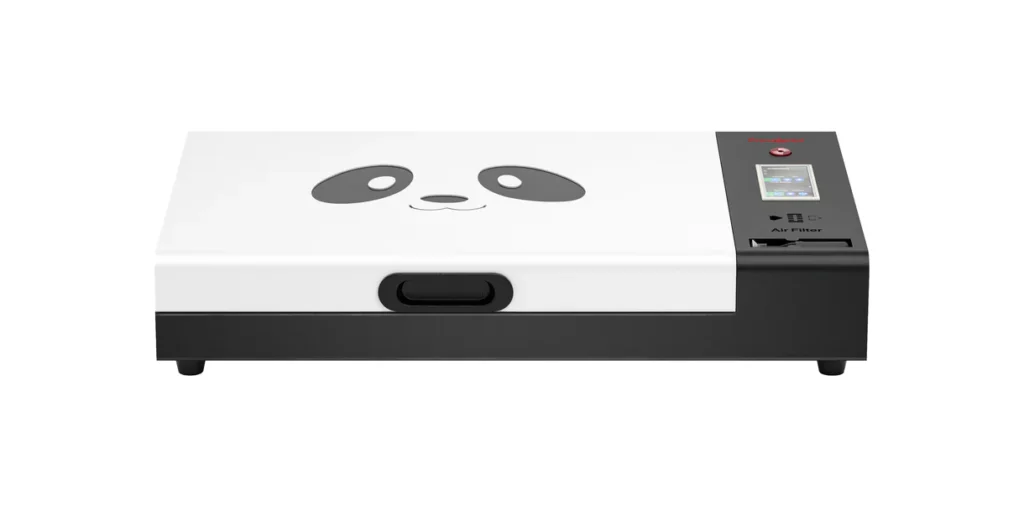
1. DTF Printer
The most important piece of equipment is the DTF printer itself.
This printer prints your design onto a special PET transfer film using CMYK colors plus white ink.
White ink is what allows DTF designs to appear vibrant on dark garments.
Most beginners start with A3 size printers, which can print designs up to about 13 inches wide.
Popular beginner printers include machines like the Procolored F13 series, which are designed specifically for DTF printing.
These printers are compact enough for small workspaces while still capable of producing professional-quality transfers.
I’ve written an article specifically focused on the best DTF printers for beginners. If you haven’t read it yet, I recommend you do it before moving continuing, in that article I go over the specifications, including pros and cons.
Remember, clarity is your best friend at this stage of your journey, and knowing exactly what you are getting yourself into, will save you time and money.
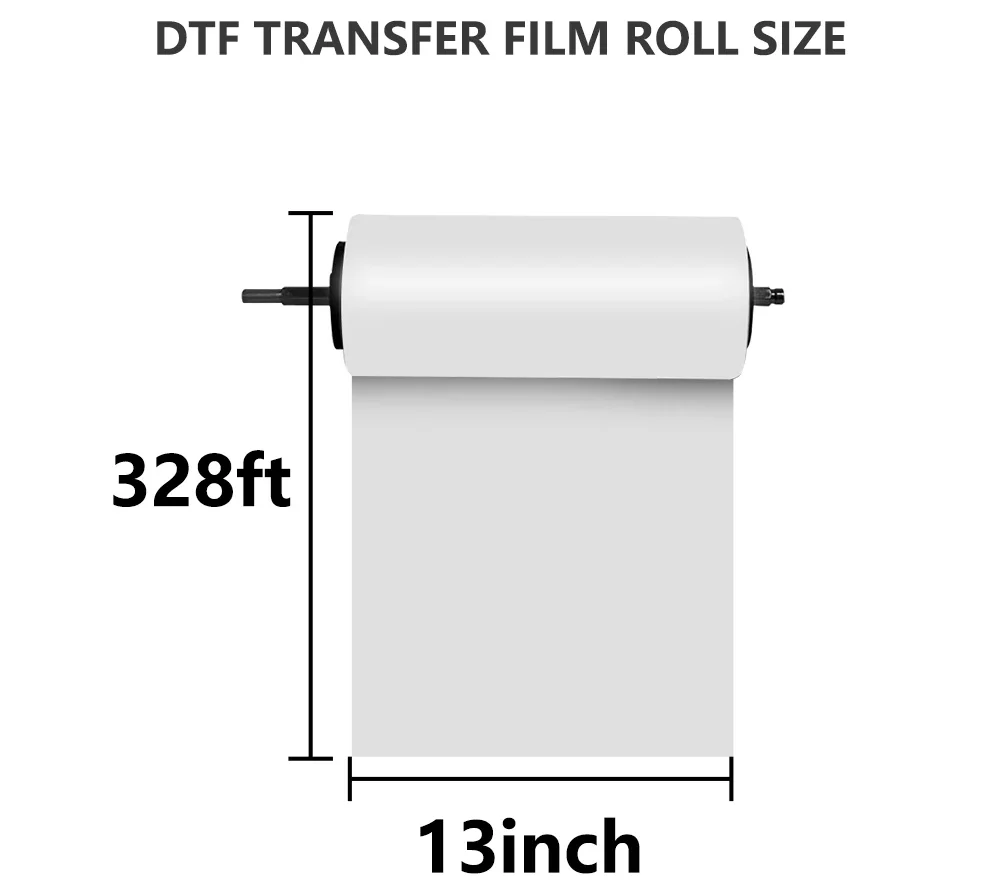
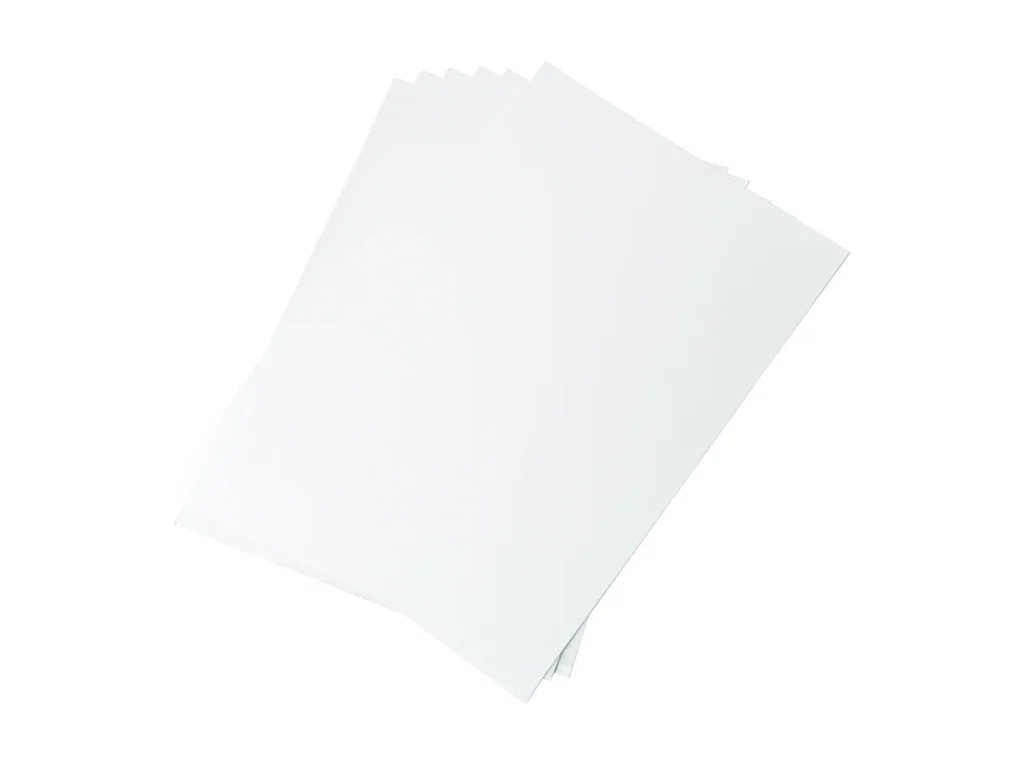
DTF printing uses PET transfer film instead of printing directly on fabric.
This film acts as the carrier for your printed design before it is transferred to the garment.
After printing onto the film, the ink remains slightly wet so adhesive powder can stick to it.
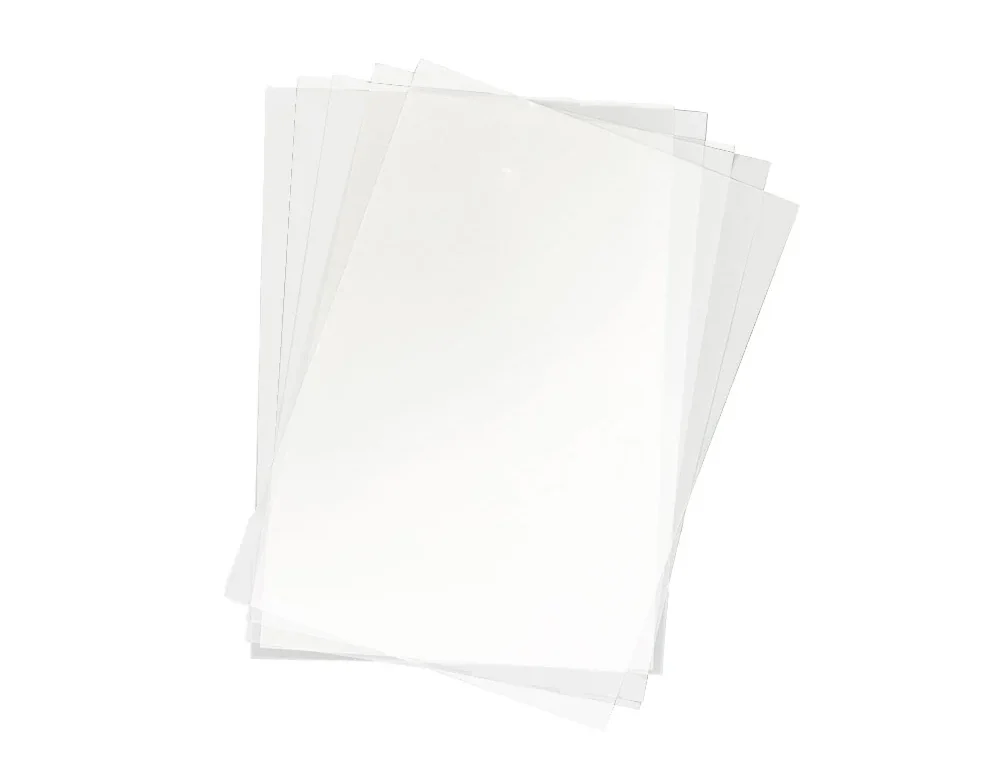
Film is typically sold in:
individual sheets
roll film for continuous printing
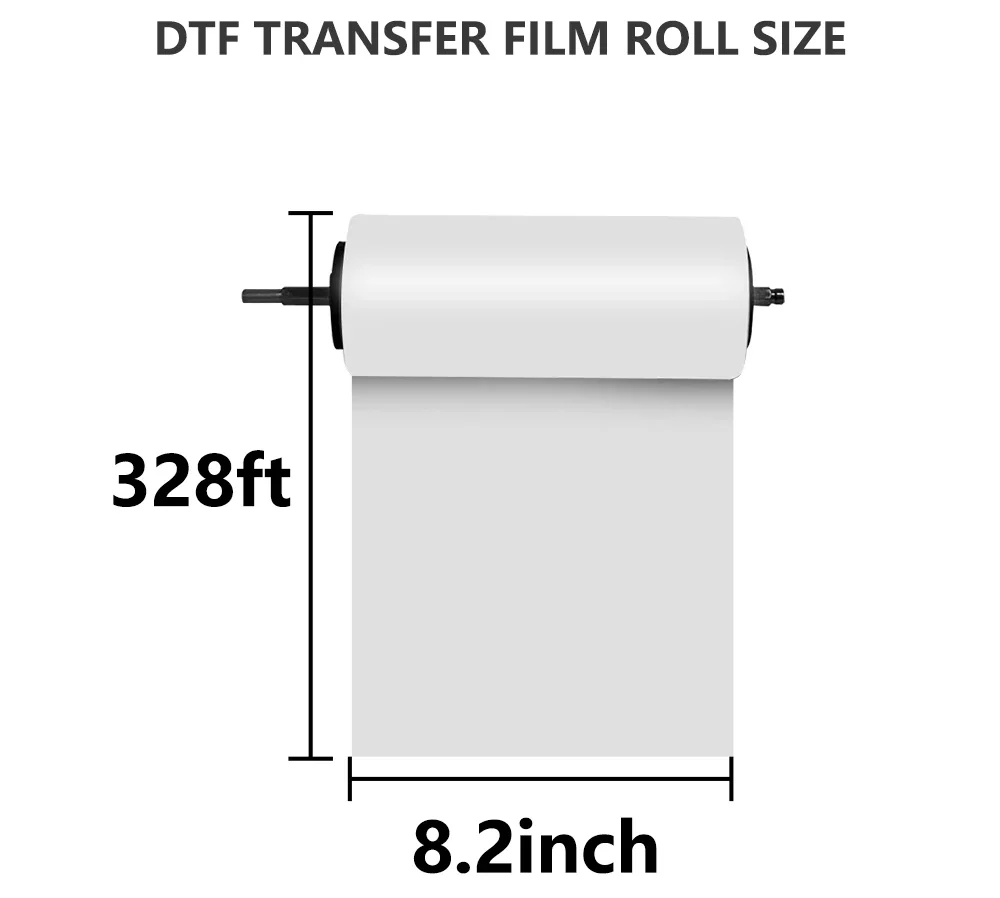
Beginners often start with A3 film sheets before moving to roll film setups later. I personally prefer the DTF transfer Film Roll, as it allows me to print bigger designs, and/or multiple prints at once, instead of having to change it for each print.
Below, you’ll find the different options you have available for DTF transfer films:
A3 DTF Pretreat Transfer Film Roll
A4 DTF Pretreat Transfer Film Roll
Feel free to click on each image to view current prices and availability
A4 DTF Film Sheet
A3 DTF Film Sheet
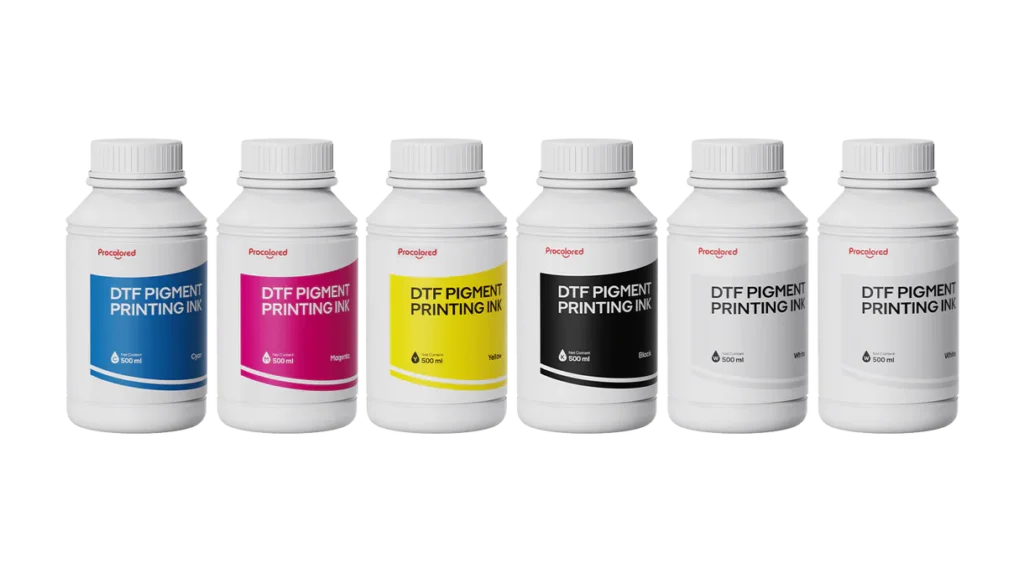
3. DTF Ink
DTF printers use special pigment-based inks designed specifically for film transfers.
The ink system typically includes:
Cyan
Magenta
Yellow
Black
White
White ink is especially important because it creates a base layer that allows designs to show clearly on dark fabrics.
Because white ink is thicker than standard ink, proper circulation and maintenance are important parts of running any DTF printer.
Feel free to click on each image to view current prices and availability
DTF Ink 250ml
DTF Ink 500ml
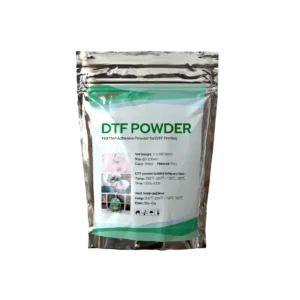
4. Adhesive powder
After the design is printed on the film, a special adhesive powder is applied to the wet ink.
This powder sticks to the ink and becomes the bonding layer that allows the design to attach to the garment during heat pressing.
The process usually looks like this:
Print the design on film
Sprinkle adhesive powder over the wet ink
Shake off excess powder
Once this step is complete, the design is ready to be cured.
DTF Powder
5. Curing oven or Heat source
After powder is applied, the transfer must be heated to cure the adhesive powder.
Many beginners use a DTF curing oven, which melts the adhesive powder evenly across the design.
Others use their heat press hovering above the transfer to cure it.
Ovens often make the process easier because they allow multiple transfers to cure consistently at the same time.
DTF Curing Oven Premium
DTF Curing Oven
6. Heat press
A heat press is used to transfer the finished design from the film onto the garment.
This is where the actual shirt printing happens.
The heat press applies: Heat – Pressure – Time – to bond the adhesive layer to the fabric.
Most DTF transfers require around:
300–320°F for about 10–15 seconds
Once pressed, the film is peeled away, leaving the printed design on the garment.
DTF Heat Press
7. RIP software
DTF printers require special software called RIP software.
This software controls how the printer processes designs, especially the white ink layer.
Without RIP software, the printer would not know how to properly print the white underbase needed for DTF transfers.
Most beginner printer bundles include RIP software already, like the ones listed in all my blogs, but if for some reason you need it separately, this is a great and affordable option, compatible with all Epson printers converted to DTF. This Procolored RIP PROP includes free updates to assure it always works perfectly. This is crucial for fast, reliable, crips and high resolution prints.
RIP PRO
8. basic workspace setup
Finally, you need a small workspace to operate your DTF setup.
This doesn’t have to be a full commercial shop.
Many beginners start with a simple setup that includes:
a sturdy work table
good ventilation
organized storage for film and supplies
enough space for the printer and heat press
A clean, organized workspace helps prevent mistakes and makes the printing process much smoother.
Beginner tip: start simple
Many beginners feel like they need a huge commercial setup to start printing shirts.
You don’t.
A small but organized setup with the right equipment can produce professional-quality transfers.
The key is learning the workflow step by step and building experience with the equipment.
Final thoughts
DTF printing may look complicated at first, but once you understand the system, it becomes much easier to manage.
The essential equipment needed to start includes:
DTF printer
PET transfer film
DTF inks
Adhesive powder
Curing oven or heat source
Heat press
RIP software
With these tools, anyone starting in this DTF world can start producing high-quality custom apparel from a small workspace.
As your skills and business grow, you can always upgrade your equipment and scale your production.